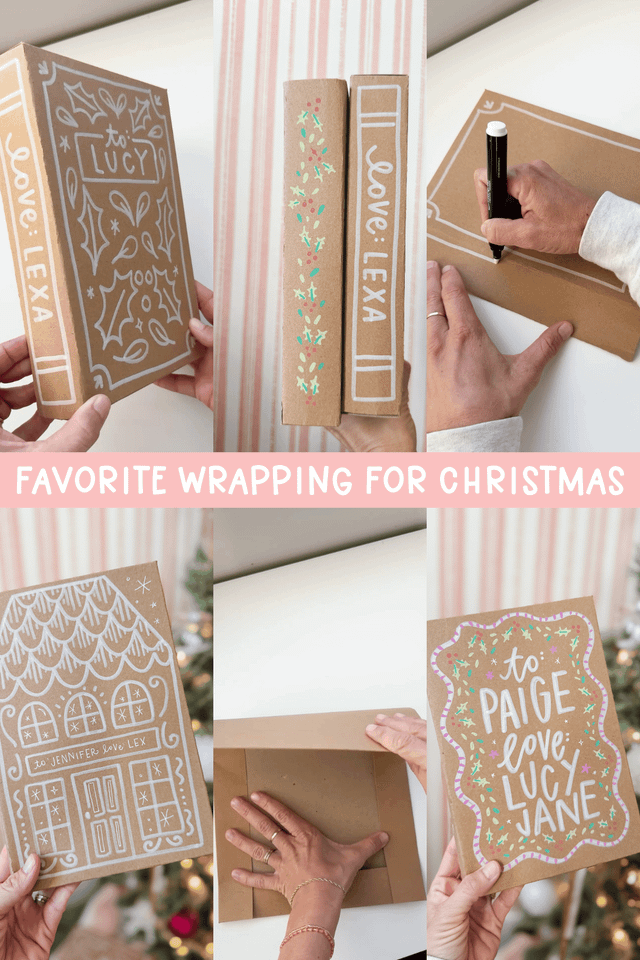

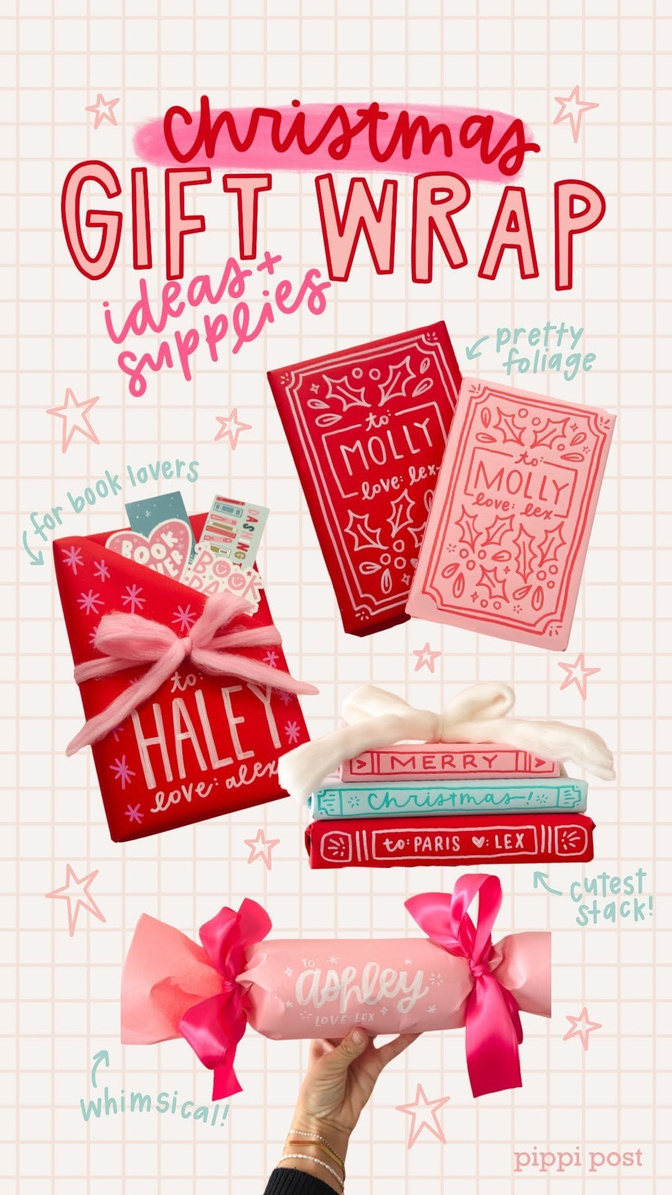
If you know me, you know I love a cute and clever wrapping idea—and this one might be my new favorite! 😍 You'll never look at a shirt box the same again!
Instead of using a full shirt box, you can take just one half (either the top or bottom), fold it, and create a smaller, perfectly sized box for a book. It’s such a fun way to repurpose what you already have, and it looks absolutely adorable under the tree. Bonus? You get double the use out of one box! 🙌 I've linked all the supplies and instructions below!
Wrapping Supplies:
Shirt Boxes -these shirt boxes are what we use to wrap up the book! The best part is you only need the top or bottom piece, we'll fold it to fit. So you'll get double the use out of these boxes!
Scissors -these are my favorite gold scissors!
Tape -obviously! ;) I've used lots of different brands, and this one wins every time.

Pens and Markers:
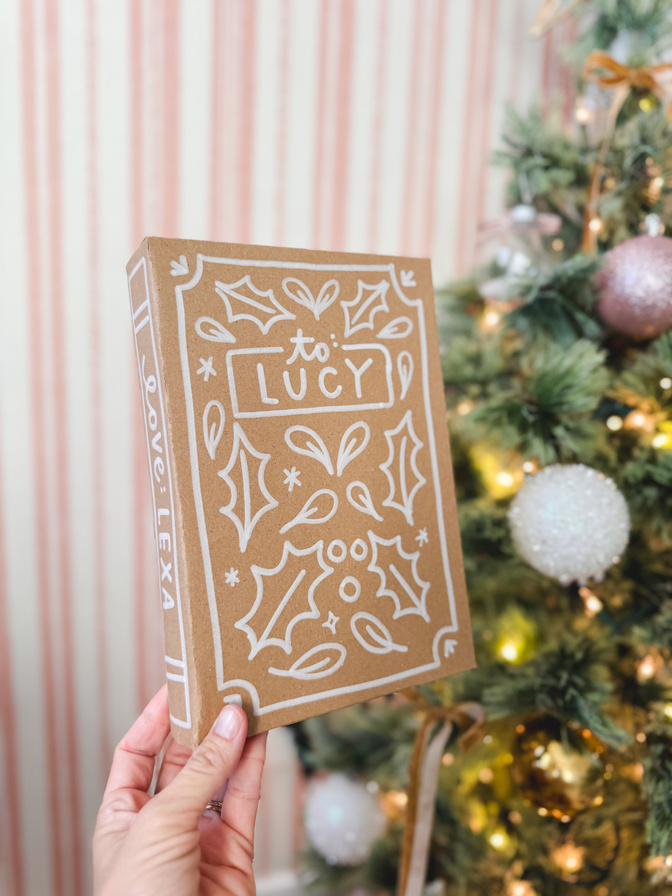
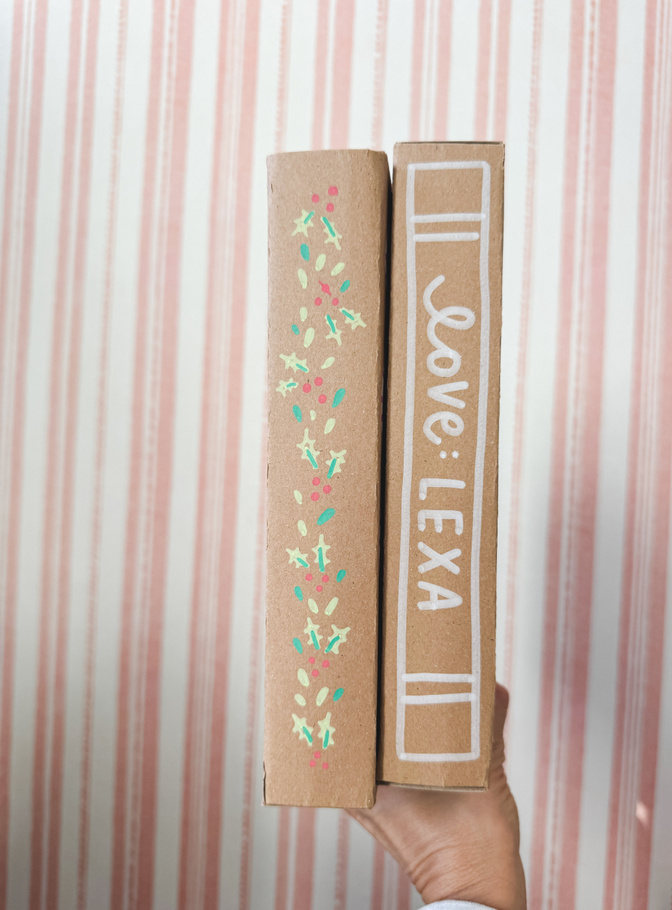
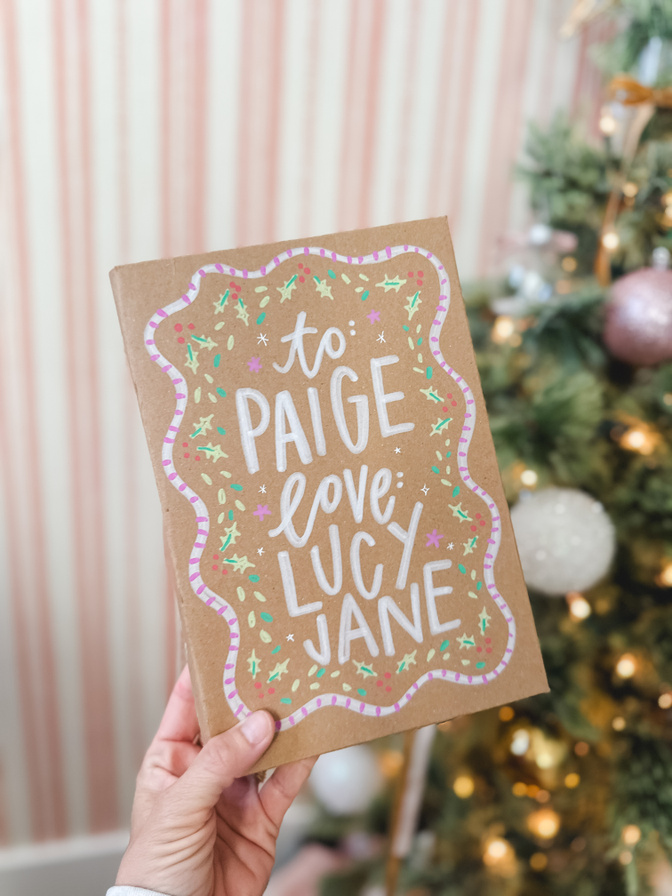
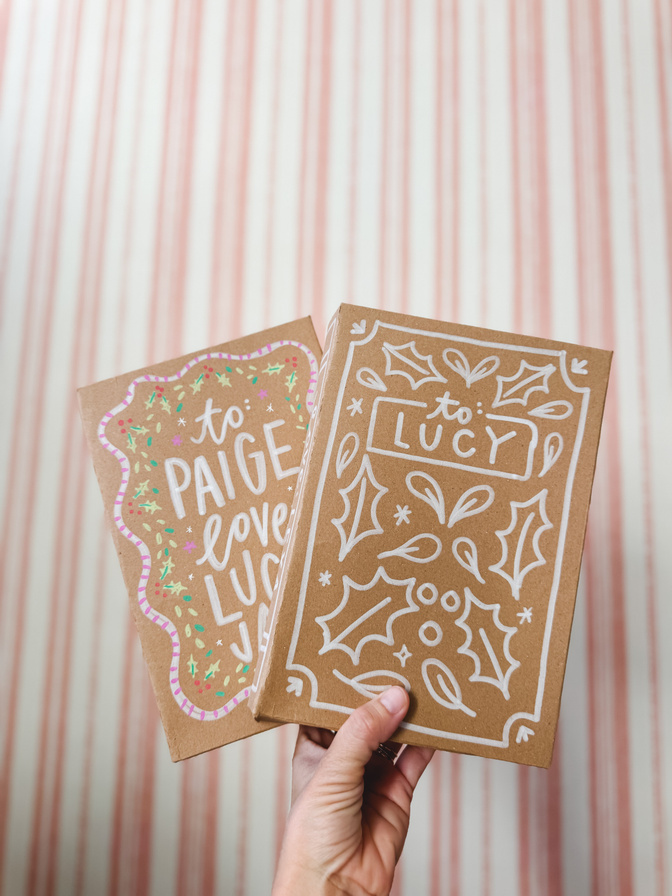
Acrylic Paint Marker– My favorite for bold, opaque lettering on kraft paper and boxes. The color pops beautifully and makes your gift stand out.
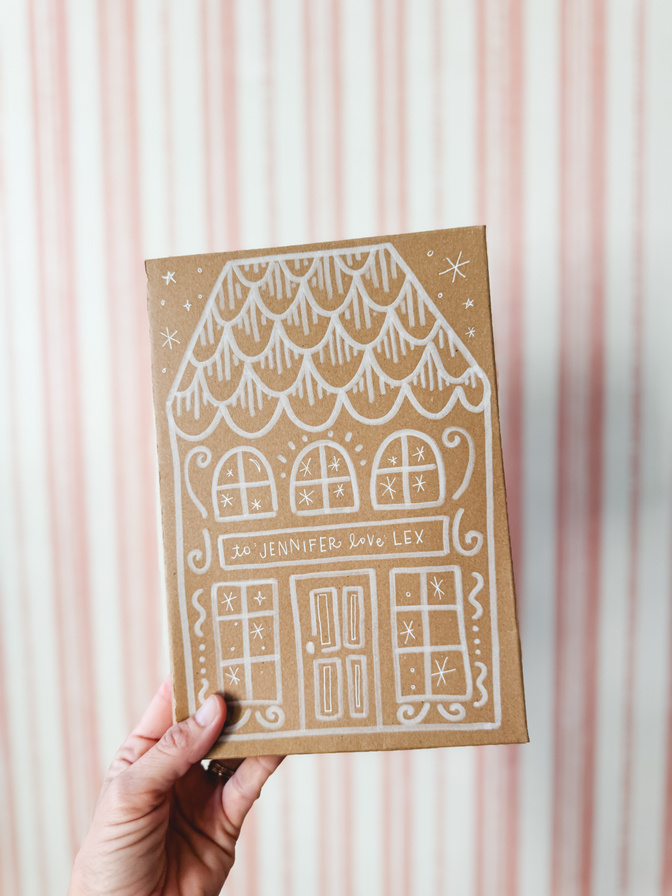
White Chalk Marker– Perfect for adding those soft, cozy touches—like faux calligraphy or simple doodles. It gives that “chalkboard Christmas” vibe that’s so timeless.
White Gel Pen– A must-have for smaller details and fine lines! I love using this one for delicate lettering or tiny details!
Favorite Ribbon:
Velvet Ribbon -My go-to for adding a touch of cozy holiday magic. It’s soft, luxe, and instantly makes any gift look high-end. Perfect for Christmas gifting!
Thick Yarn – If you love a more casual, handmade feel, this one’s for you. It adds texture and warmth, plus it’s super affordable for wrapping lots of gifts!
Satin Ribbon– Simple, classic, and so easy to work with. I love how the sheen catches the light—especially on neutral kraft boxes. It’s the perfect finishing touch!
How to Fold Your Shirt Box:
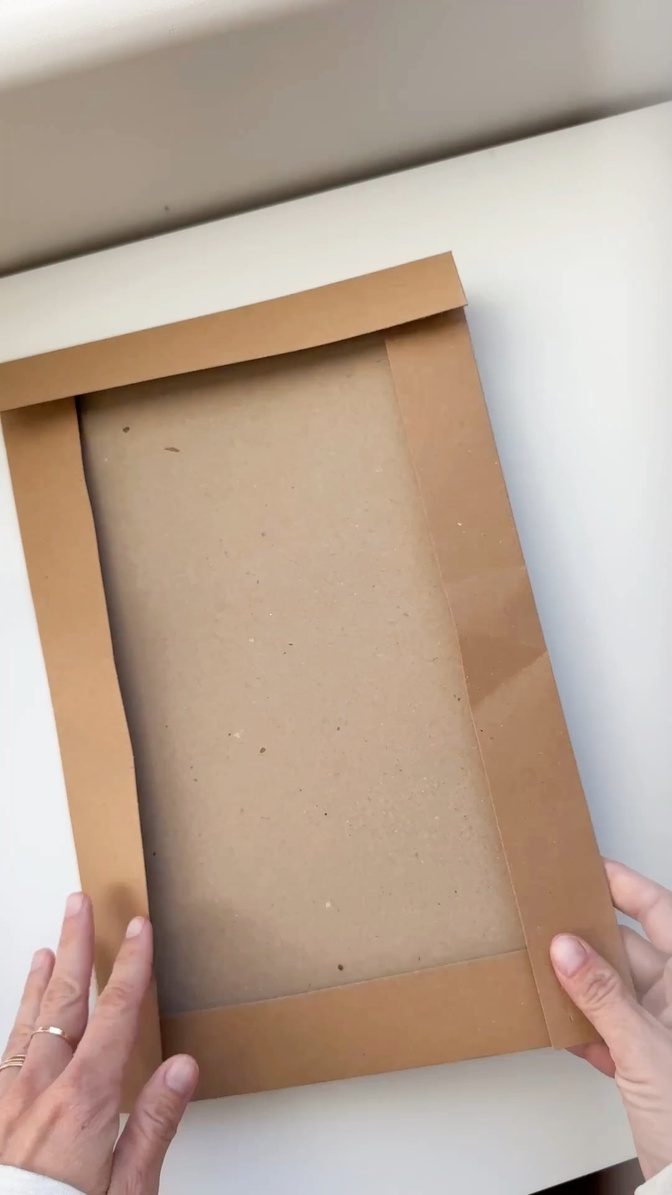

Start with one half of your shirt box and lay it flat on your table with the flaps facing toward you. Take one side of the box and fold it in toward the middle, lining it up with the edge (or “lip”) of the opposite flap. Then open that fold back up, spin your box around, and repeat the same step on the other side. You’ll start to see your smaller box taking shape!

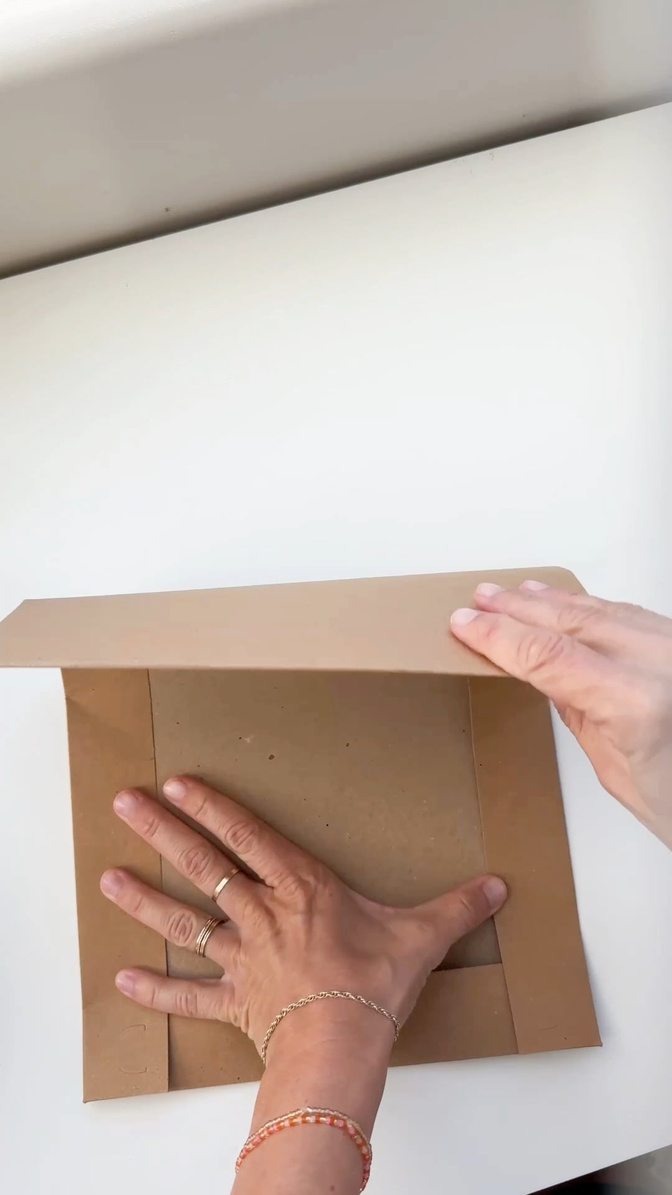
Next, open your folds again and, using scissors, carefully cut along those fold lines—just up to the lip—on both sides. Tuck the little flaps you just cut toward the inside of the box and tape!
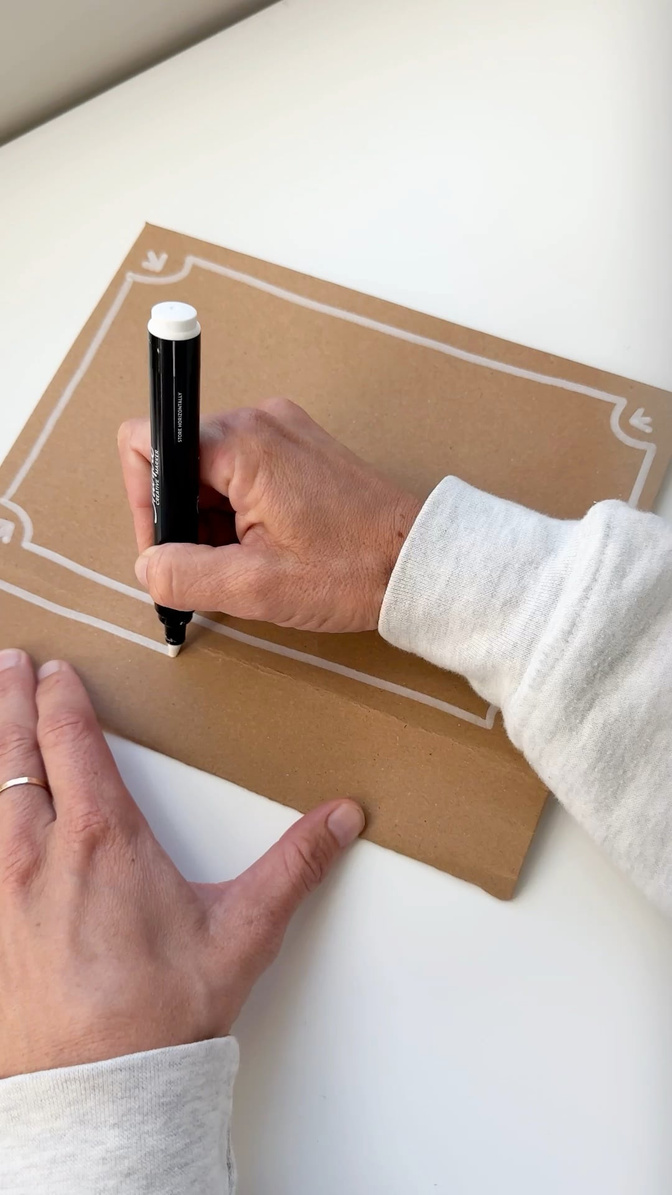

If you’re planning to decorate the top, this is the perfect time to do it while everything’s still flat (trust me—it’s much easier this way!). Once you’re done, fold all the edges back up, tape or secure them, and voilà—you’ve made a smaller, custom-sized box from just one half of a shirt box!
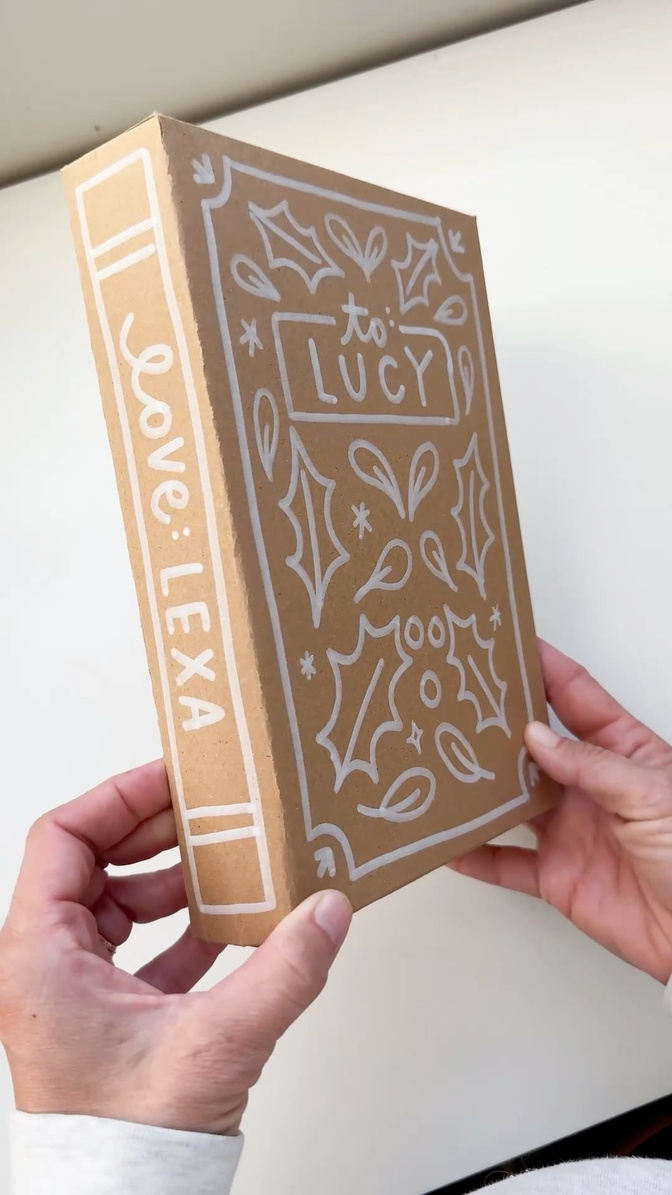
Now just pop in your favorite book, tie it up with a pretty ribbon, and you’ve got the cutest DIY holiday gift—simple, sweet, and sure to make someone smile. 🎁❤️
Want more book wrapping ideas? Check out these tricks here!
Happy wrapping!
xo Alexa


